Basic Sourdough
The idea behind sourdough bread has been around for centuries. One of my favorite things about this way of baking is how it connects us to people and places that have come before us. It all started as an accidental experiment and in my encounter of the entire process, it is how we still learn to use this method.
On this page I will share my favorite go to quick methods for a basic sourdough and de-bunk the complexity that society has ruled in its favour.
Many sourdough communities have set the stage for failure, or at least the feeling of it. In the beginning of my sourdough journey, the bar was set at an unachievable standard. The intimidation scale felt though I would never attain even the most basic of sourdough. I wouldn't accept that as the starting point. So then I started scouring the internet, determined to find a way where these daunting details made sense.
I failed many times at first. Losing starter after started. Comparing my failures to these beautiful images of others succeeding. Eventually, I gave up. Determined that this was just not meant for me to accomplish. Then, a few posts on the good ole Facebook caught my eye and I felt that yearning to start again. This time I would do it my way. I decided heck with what these "perfect" measurements others talked about. I read on how sourdough was made long ago. Guess what...it was an accident to begin with and it turned into years long experiments and honed into a skill that way. So here I started my experimenting as well. Found out that it is attainable and now I bake sourdough bread, amoung other sourdough recipes, on a regular basis!
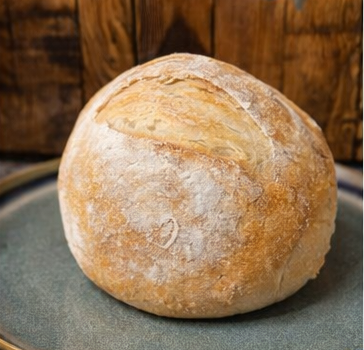
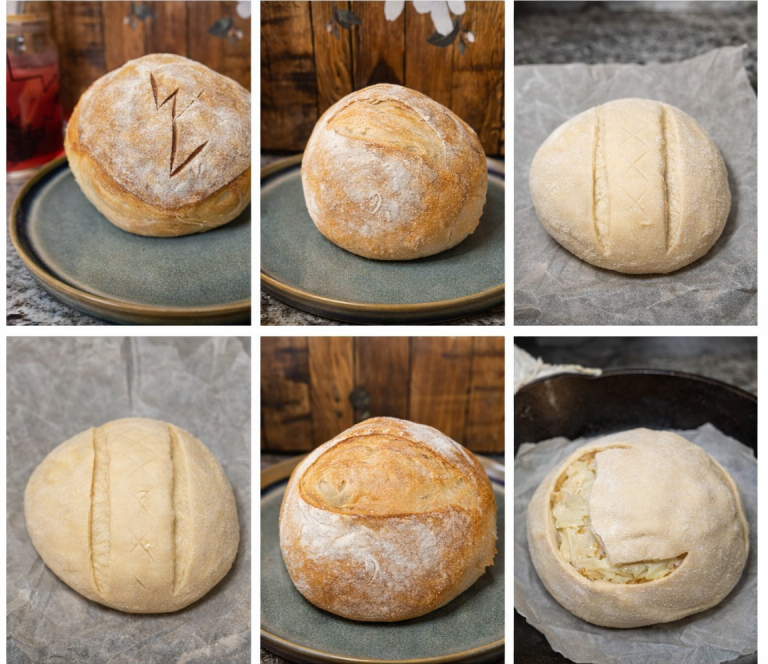
These are some of my most recent loaves and they did'nt always turn out this nice!
Sourdough starter is all about the science. There are two microorganisms that allow the growth of a starter, yeast and something called LAB (Lactic acid bacteria). It is essentially....a science experiment, every environment, different water source, and source of flour can all change the dynamic of your starter. I say this to help you understand yours will not be the same as Neighbor Jane. All this to say start the bread. Make the mistakes and push forward. You don't have to meausre out to the very ounce, but you can. You don't need all the gadgets to wait to start. Just do it.
Here are my basic recipes for a sourdough starter and a basic sourdough bread recipe:
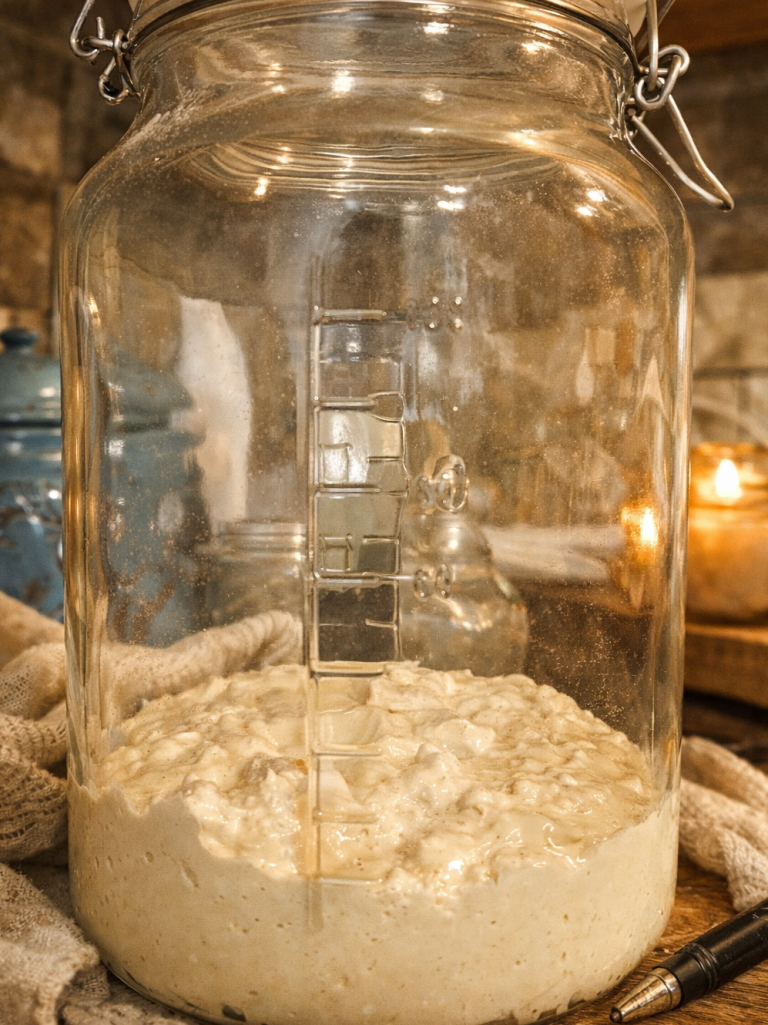
Basic Sourdough Starter:
Step One: In a container with a good lid (does not need to be airtight in my experience)
take equal parts of water and flour. I start with 1/2 cup of flour and 1/2 cup of
water (Also, you can use any flour, but the best is a unbleached, all
purpose or bread flour). Set aside on counter for 36-48 hours.
Step Two: After the time lapse, feed a 2:1 ratio of flour to water (continuing my recipe, 1/2 cup of flour and 1/4 cup of water). You will do this same
feeding for the next 2-3 weeks.
Step Three: Continuing for the next 2-3 weeks (or until your starter is bubbly and not completely smelling like ethanol) use a 1:2:1 ratio of sourdough to flour to water.
If you have extra starter there are several recipes to use instead
of discarding (these are called sourdough discard recipes).
Step Four: Once your sourdough is established feed it daily or keep in the fridge and feed it 24 hours before using.
Basic Sourdough Loaf:
Ingredients:
1/2 cup sourdough starter
1 cup of warm water
2 Tbsp of honey or sugar
4-5 cups of flour
2 tsp of salt
Step One: Mix starter, water and honey. Let sit for roughly 5 minutes (helps to start feeding those microorganisms).
Step Two: Add 4 cups of flour and salt(you may not use all of the flour, don't forget the dough should not be super dry). Mix until dough is shaggy. Should be slightly sticky, but not too wet. This will become easier to tell over time.
Step Three: Over the next hour, try to do 4 stretch and folds. I usually time this every 20 minutes. Stretch and fold is where you grab an edge of the dough, pull it up away from the middle and fold it over to the opposite side. You do that with each side(4 total) and that is one strech and fold. Keep covered in between resting.
Step Four: Cover and let rest for 4-5 hours on counter, somwhere warm.
Step Five: Keep covered and bulk ferment in fridge covered for 8-12 hours.
Step Six: After bulk ferment, pull from the fridge and let sit out on counter for 1-2 hours to warm the dough.
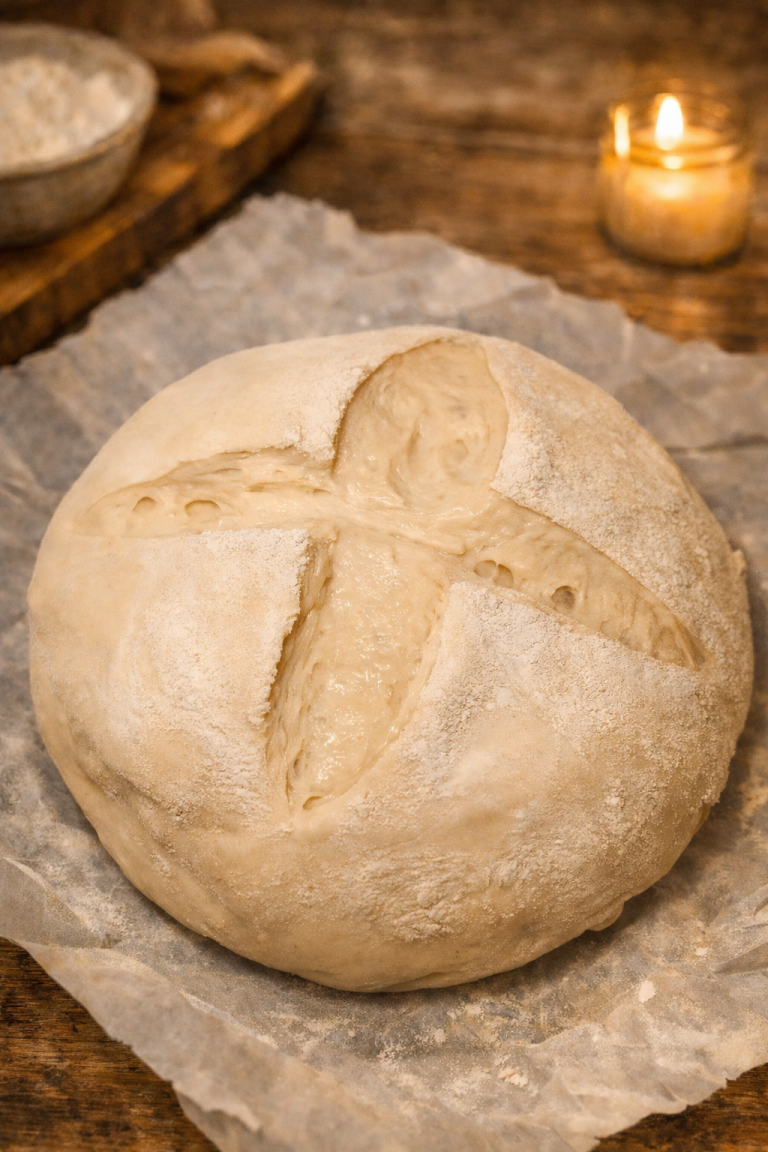
Step Seven: Divide dough in half and either shape in rounds or oblong(for bread pan). If shaping in rounds I usually let rest for 10 minutes covered on the counter.
Step Eight: place in loaf pan, dutch oven, or cast iron skillet and cover for 1 hour.
Step Nine: Preheat oven to 425 degrees F and bake for 25-35 minutes. After you take it out let it cool for at least 10-15 minutes and Enjoy!
These are my everyday(for the most part) recipes I use...and I mean just about everyday. That being said remember if you use them, they may turn out perfect to you. It may not work and you will need to change it in a way that works for you! Baking is a way we get to connect to history, to each other that is so beautiful. Bake the bread, even through the frustration. It's worth it!